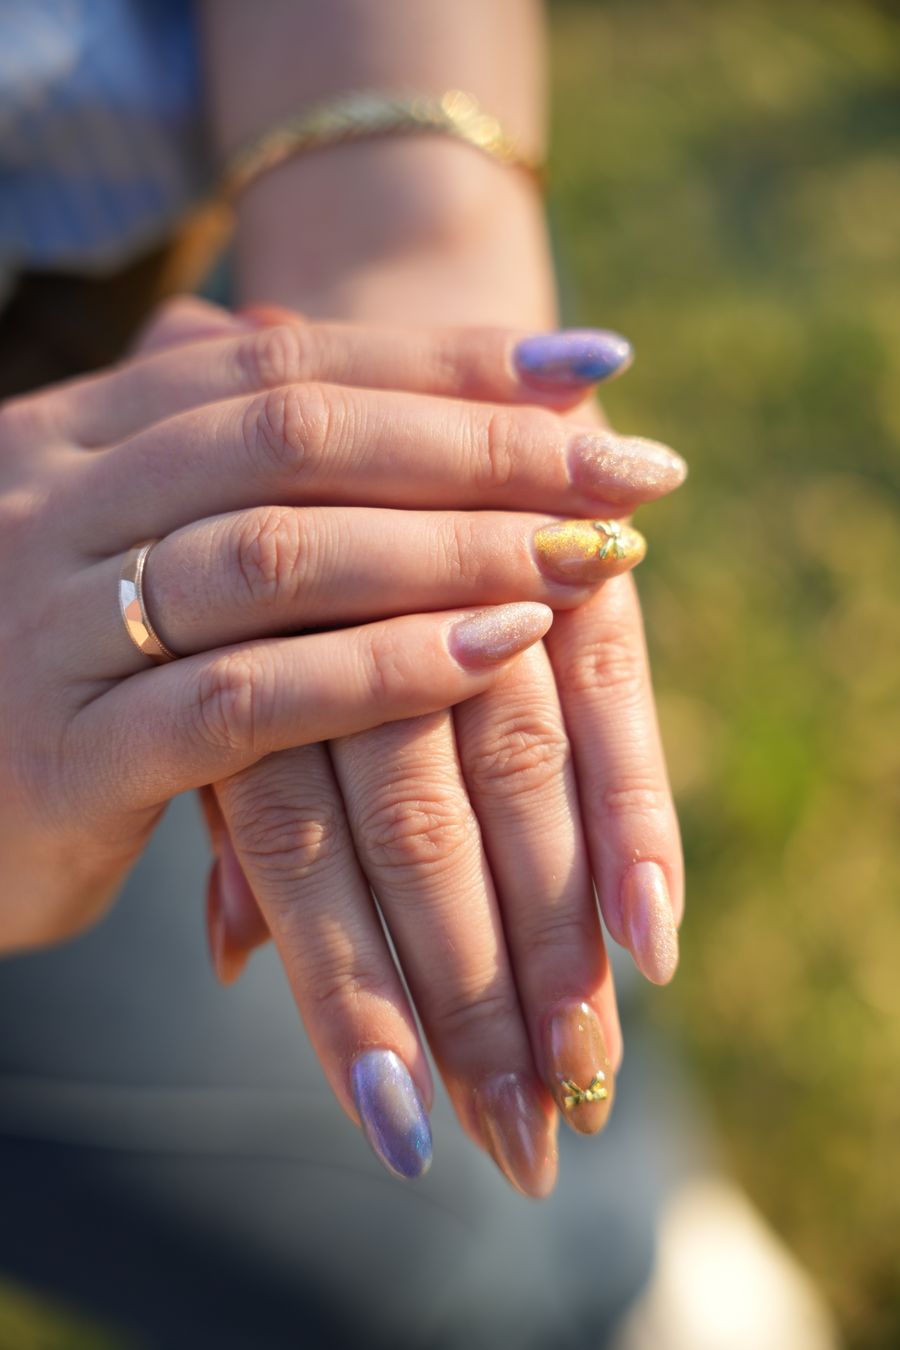
When exploring aura nails ideas, "aura" describes a softened radial gradient where a glowing center color blends outward into a contrasting base shade. Unlike vertical or horizontal ombré manicures that transition from cuticle to tip, an aura design replicates the diffused luminescence of a radiant halo.
How clearly the design reads depends on the contrast between the center and the base, and how much room the gradient has on your nail.
Gradient Geometry: Center-to-Edge Diffusion
The defining geometry of an aura manicure is radial symmetry. Rather than sharp borders, as highlighted in styling guides like Nail Ark, the design relies on soft circular dispersion:
- Core Focal Point: A concentrated dot of pigment placed in the middle of the nail bed.
- Transition Zone: The focal color feathers gradually outward, softening in saturation until merging with the background.
- Perimeter Border: The base shade remains visible along the cuticle and sidewalls, framing the gradient so the radial effect stays distinct.
Color-Pair Selection: Contrast and Readability
Color pairing determines whether the aura effect pops or disappears. Contrast and opacity dictate visual depth:
- High-Contrast Statements: Pairing vibrant centers with dark bases—such as neon peach glowing over deep navy or plum—creates maximum separation and crisp readability from a distance.
- Harmonious Tonal Blends: Neighboring pastels—such as lavender over baby blue, or warm apricot over butter yellow—deliver a soft glow with subtle depth.
- Sheer Foundations: Diffusing a bold magenta or coral center over a sheer milky-nude base provides an everyday look with a clean, neutral perimeter.
Ask to compare the two colors side by side before application. A sample nail can show whether their overlap creates the soft transition you want.
Scaling Gradients for Short Nails
Aura designs adapt across different nail silhouettes, but available surface area directly affects gradient scaling:
- Compact Surface Area: Short natural nails offer less blending room than long extensions.
- Proportional Core: A smaller center leaves room for the base color to frame the gradient.
- Sharper Contrast: Subtle tone-on-tone blends wash out easily on small nail beds; higher contrast keeps the halo readable.
For matching finish placement and gradient scale to your specific nail bed proportions, NailMoodLab's /nail-shapes-analysis.html provides dedicated shape analysis.
Salon Application Methods: Airbrush vs. Sponging and Blooming Gel
Achieving seamless center-to-edge diffusion depends on application technique. As outlined in salon guides like Bradenton Nails, professional technicians generally use three methods:
- Airbrush: A technician sprays color to create a soft transition.
- Sponge or stamper: Color is tapped into the center and blended toward the base.
- Blooming gel: A technician uses a product designed to let the center color spread into a soft edge.
Ask which method your technician uses and compare a sample nail with your reference photo.
Lighting Reality: Natural Daylight vs. Salon Ring Lights
An inspiration photo may be taken under bright or directional light, which changes how a color pairing appears.
Look at a sample in more than one lighting condition if possible, particularly when choosing a subtle pairing.
Trade-Offs and Common Mistakes
Keep these practical trade-offs in mind before finalizing your choice:
- Too little contrast for the look you want: Similar shades can make a subtle gradient; choose more contrast if you want the center to stand out.
- Over-Expanded Center Placement: Allowing the gradient to reach the cuticle and sidewalls eliminates the framing base, turning an aura look into an uneven solid color.
- Skipping the sample: The finished blend can differ from a digital preview or inspiration photo.
Practical Decision Checklist & Salon Request Script
Follow this sequence to define your manicure:
- Select contrast: High-contrast statement or soft tonal harmony.
- Scale to length: Keep the center compact on short nails; widen the radius on longer extensions.
- Confirm method: Inquire if the technician uses airbrushing or hand sponging.
Example Salon Request Wording:
"I would like an aura manicure with a bright lavender center softly diffused over a sheer milky-white base. Because my nails are short, please keep enough milky border visible around the center, finished with a glossy top coat."
For high contrast, specify:
"I would like an airbrushed neon peach aura centered over an opaque deep navy base, blended smoothly outward without touching the sidewalls."
Concept Preview and Next Steps
If you are exploring color combinations or testing contrast options, generate visual concepts with NailMoodLab’s tool at / or preview placements using the virtual try-on feature at /nail-try-on.html. Digital try-ons provide useful conceptual benchmarks; always confirm polish opacity, color compatibility, and application technique directly with your professional nail technician.