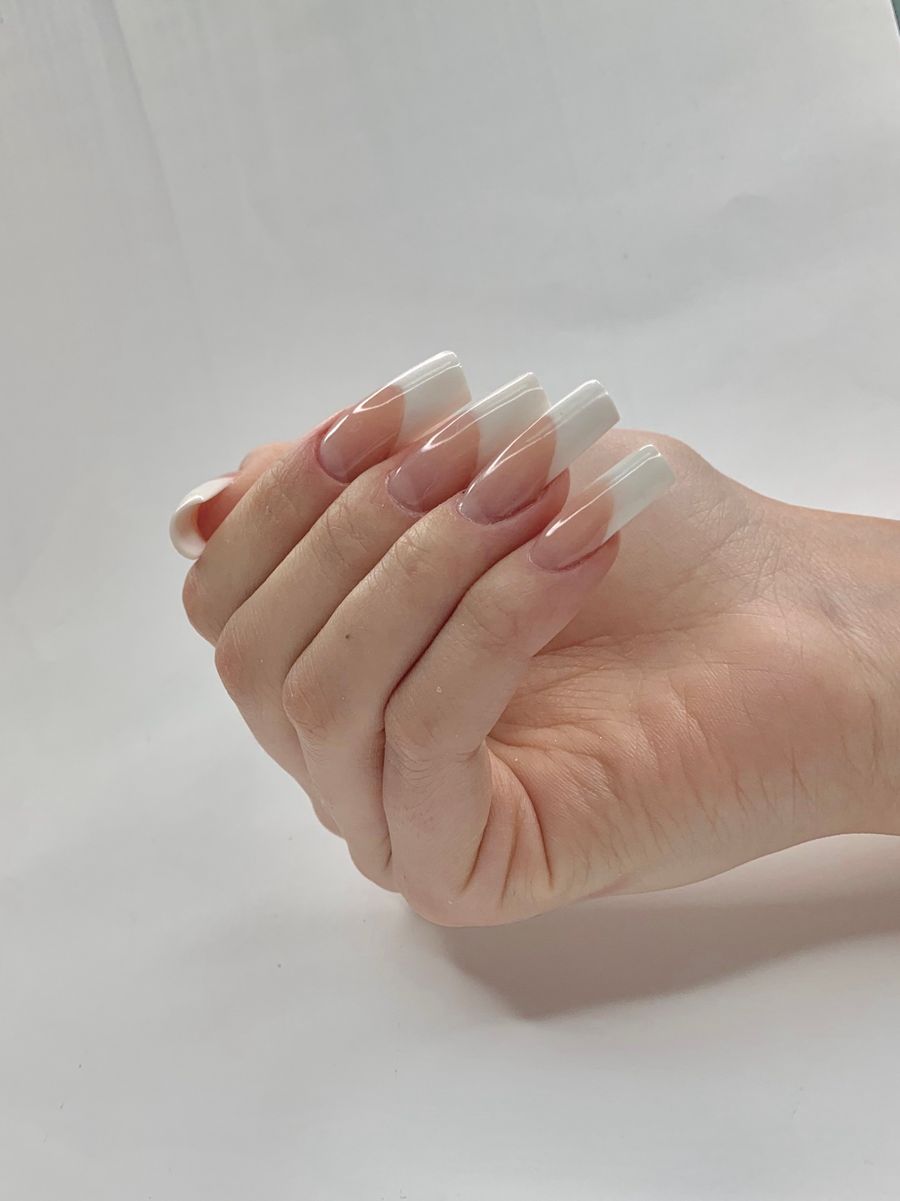
Choosing between ombre nail ideas comes down to one physical constraint: the surface area available for colors to transition smoothly. An ombré manicure creates a gradual color shift across the nail plate rather than a harsh border. When planned around nail length, a gradient flatters your hands; when miscalculated, colors blend into a muddy tone or vanish before reaching the tip.
Whether exploring ombre nail ideas for short tips or longer extensions, matching direction, contrast, and shade count to your nail bed ensures your manicure looks balanced.
The Core Levers: Direction, Contrast, and Color Count
An ombré design relies on three variables:
- Direction: Horizontal (cuticle to tip) versus vertical (sidewall to sidewall).
- Contrast: Tonal distance between shades, from gentle shifts to high-contrast hues.
- Number of Colors: A two-tone transition versus a multi-shade blend.
Style coverage, such as gradient roundups on Who What Wear, demonstrates how adjusting these levers transforms a look from subtle minimalism to an energetic statement.
Direction: Horizontal vs. Vertical Gradients
Horizontal Gradients (Cuticle to Tip)
The classic horizontal gradient places one shade at the cuticle and diffuses it toward the free edge, echoing French aesthetics. It performs best on moderate to long nails. On short nails, horizontal fades require a compressed blend zone; if the transition takes up too much vertical space, neither shade registers clearly.
Vertical Gradients (Side to Side)
Vertical ombré moves across the nail plate from sidewall to sidewall. This orientation benefits short nails: because the blend spans the full nail bed width, blending space remains constant regardless of free-edge length. The side-to-side transition draws the eye across the nail, creating a balanced proportion.
Color Count: Two-Color vs. Multicolor Blends
Two-Color Combinations
A two-color fade is the cleanest baseline. With a single transition corridor, pigments blend predictably. Pairings within the same color family—like blush into cream or lavender into plum—produce smooth shifts with minimal clash.
Multicolor Transitions
Three or more colors add visual depth, but each added shade requires its own corridor. Medium and long nails provide enough room to showcase each hue cleanly. On shorter nails, stacking multiple shades compresses these corridors, often causing intermediate colors to blend unintentionally.
Short-Nail Simplification
Shorter nails do not mean skipping gradient art; they just require deliberate choices:
- Stick to Two Shades: Limiting the palette prevents visual clutter.
- Position the Blend High: For horizontal fades, keep the base solid across most of the nail bed and concentrate the tip color near the free edge.
- Evaluate Silhouette: Nail boundaries alter how a fade reads. Consult nail shapes analysis to evaluate whether squoval, round, or almond outlines best complement your gradient.
DIY vs. Salon Feasibility
Executing a seamless gradient depends on precise pigment diffusion.
DIY at Home
At home, ombré styles are commonly created using makeup sponges to dab layered polish or fan brushes to blend wet gel. Instructional guides, like YouTube nail styling tutorials, show how sponge dabbing builds opacity.
If you plan to make the gradient at home, try your color pair on one nail first. You can then decide whether you like the transition before applying it across the whole set.
In the Salon
Salons frequently use professional airbrush tools or dense gel blending brushes. Airbrushing diffuses fine pigment mists, creating seamless transitions without sponge texture. For high-contrast pairs, multicolor palettes, or complex ombre nail ideas on short nails, salon application provides greater consistency.
Trade-Offs and Common Mistakes
- Muddy Intermediates: Blending opposite color-wheel tones without a neutral bridging shade yields a muddy center.
- Overcrowding Short Beds: Forcing three contrasting shades onto a short nail bed blurs individual colors.
- Streaking Topcoats: Brushing topcoat with heavy pressure over an uncured gradient drags pigment across the blend boundary.
Decision Checklist
- Assess Length: Two-color horizontal or vertical fades suit short nails; multicolor blends fit longer extensions.
- Harmonize Tones: Pick shades with shared undertones to keep transitions clean.
- Select Method: Sponge at home for subtle two-tone sets; choose a salon for airbrushing or multi-tone designs.
- Preview Digitally: Use NailMoodLab to generate concept ideas and test visual balance with nail try-on. Digital previews clarify preferences, though technicians adjust pigment density in person.
What to Bring and Ask at the Salon
Bring a reference photo and use this brief:
"I would like a two-color ombré with [Base Shade] at the cuticle fading into [Tip Shade] at the tip. Because my nails are [short / medium / long], please keep the transition corridor smooth without overwhelming the base color. Do you recommend airbrushing or brush blending for this combination?"
Frequently Asked Questions
Can you wear ombré on short natural nails?
Yes. Short nails carry two-color fades and vertical gradients well. Placing the blend near the outer edge keeps the design clean.
What is the difference between French ombré and standard ombré?
French ombré (baby boomer nails) blends a nude base into a white tip. Standard ombré can feature any color pairing, contrast level, or orientation.