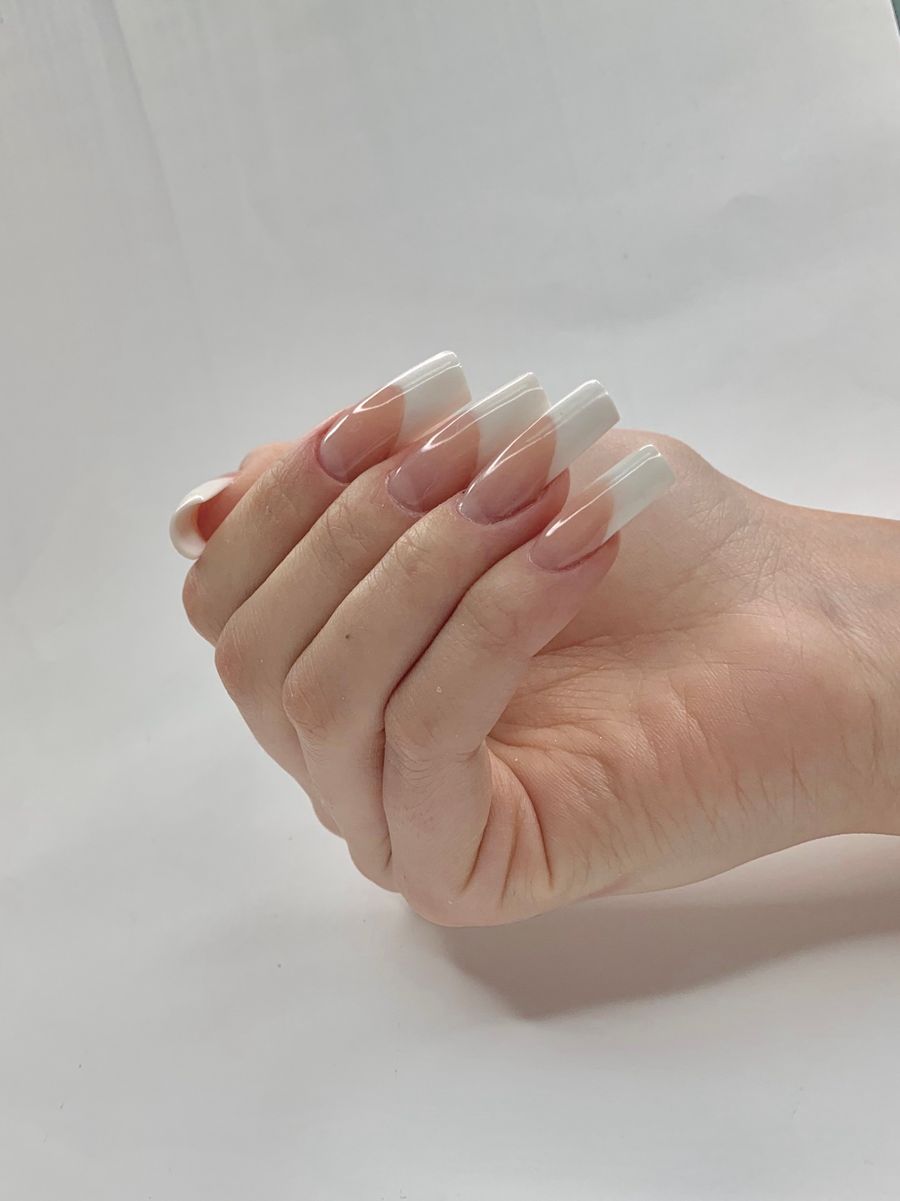
Milky white nails can range from a sheer wash to a creamy, nearly opaque finish. Compare how much of your natural nail shows through, whether the white looks warm or cool, and how the shade appears in the lighting you use every day. Those details tell a technician more than asking for "white nails" alone.
Defining the Finish: Translucent vs. Solid White
The main visual difference is coverage. A sheer white lets more of the natural nail show through, while an opaque white covers it. Products sold as "milky white" can sit anywhere between those ends.
Compare product photos or swatches such as those in NailHandbook's milky white overview. Pay attention to whether the line between the nail bed and free edge remains visible, softened, or fully covered.
The Opacity Ladder: Sheer, Creamy, and Opaque
When selecting your desired look, evaluate milky white across three distinct opacity tiers:
- Level 1: Sheer Milky Wash (Translucent Jelly) This level acts as a soft veil. Your natural nail bed and free edge remain clearly visible underneath, softened by a watery, milk-bath tint. It provides a minimalist aesthetic that highlights healthy natural nails.
- Level 2: Creamy Semi-Opaque (The Classic Milky Look) This is the traditional target for milky manicures. The natural smile line is blurred into a cloudy gradient. The surface appears plump and milky, offering visible body while maintaining soft edges against the cuticle.
- Level 3: Opaque White (Full Coverage) At this end of the spectrum, dense pigment completely conceals the nail bed. While striking, full-coverage opaque white creates a stark, graphic contrast that lacks the diffused depth characteristic of milky styling.
Undertones: Warm vs. Cool White
White polishes can look warmer or cooler. Try the shades against your hand and choose the contrast you enjoy:
- Cool Milky White: A crisper, porcelain-like white.
- Warm Milky White: A softer ivory or cream-like white.
Layer Count as an Adjustable Request
Some milky polishes can be layered for more coverage. The result depends on the specific product, so ask to see a sample:
- Less coverage: More of the natural nail remains visible.
- Medium coverage: The nail line is softened but still visible.
- More coverage: The white looks closer to a solid shade.
Ask your technician how many coats their chosen product needs to reach your preferred look. Judge the sample by its evenness and coverage rather than assuming a fixed coat count.
Comparing Milky White with French and Pearl Finishes
Milky white frequently overlaps with adjacent styles explored in design galleries such as NailAtlas, but each provides a distinct effect:
- Milky White vs. Classic French: A classic French manicure creates a sharp, graphic division between a sheer pink base and a crisp opaque white tip. Milky white softens the entire nail plate uniformly. Alternatively, a "milky French" (or baby boomer ombré) blends the white tip seamlessly into a milky base.
- Milky White vs. Pearl / Glazed Chrome: A pearl finish relies on an iridescent mica powder or chrome dust burnished over the surface to reflect shimmer. Milky white depends entirely on milky pigment suspension within the gel body itself, producing cream-like depth without reflective sparkle.
Flattering Short Nails
Milky white can also work on short nails. If you prefer a subtle look, compare a sheer milky sample with a more opaque white at your actual nail length.
To find the most flattering silhouette for your hands, consider pairing a milky finish with an oval or soft squoval contour. You can evaluate your natural nail bed proportions using NailMoodLab's hand-shape analysis before deciding on your final shape.
Concept Previews vs. Salon Reality
Before your appointment, you can experiment with aesthetic variations by generating design concepts on NailMoodLab or testing shades using the virtual try-on tool.
Keep in mind that digital mockups are concept renders, not guaranteed salon outcomes. In studio photography and digital previews, bright directional lighting can make a sheer polish appear brighter or more solid than it appears under ambient indoor light. Always view your technician's physical swatch wheel under natural light before the base coat is applied.
Common Trade-offs and Mistakes
- Choosing by name alone: Two products called "milky white" may have different coverage.
- Skipping a swatch: Photos can make a shade appear brighter or more opaque than it is in person.
- Forgetting the finish: Decide whether you want plain gloss, pearl sheen, or another effect.
Salon Request Guide
When visiting the salon, do not simply ask for "white nails." Use this concise brief:
"I would like a milky white manicure with a [warm cream / cool porcelain] undertone. Please show me a semi-sheer option next to an opaque white. I want the natural nail line softly blurred, not completely hidden."