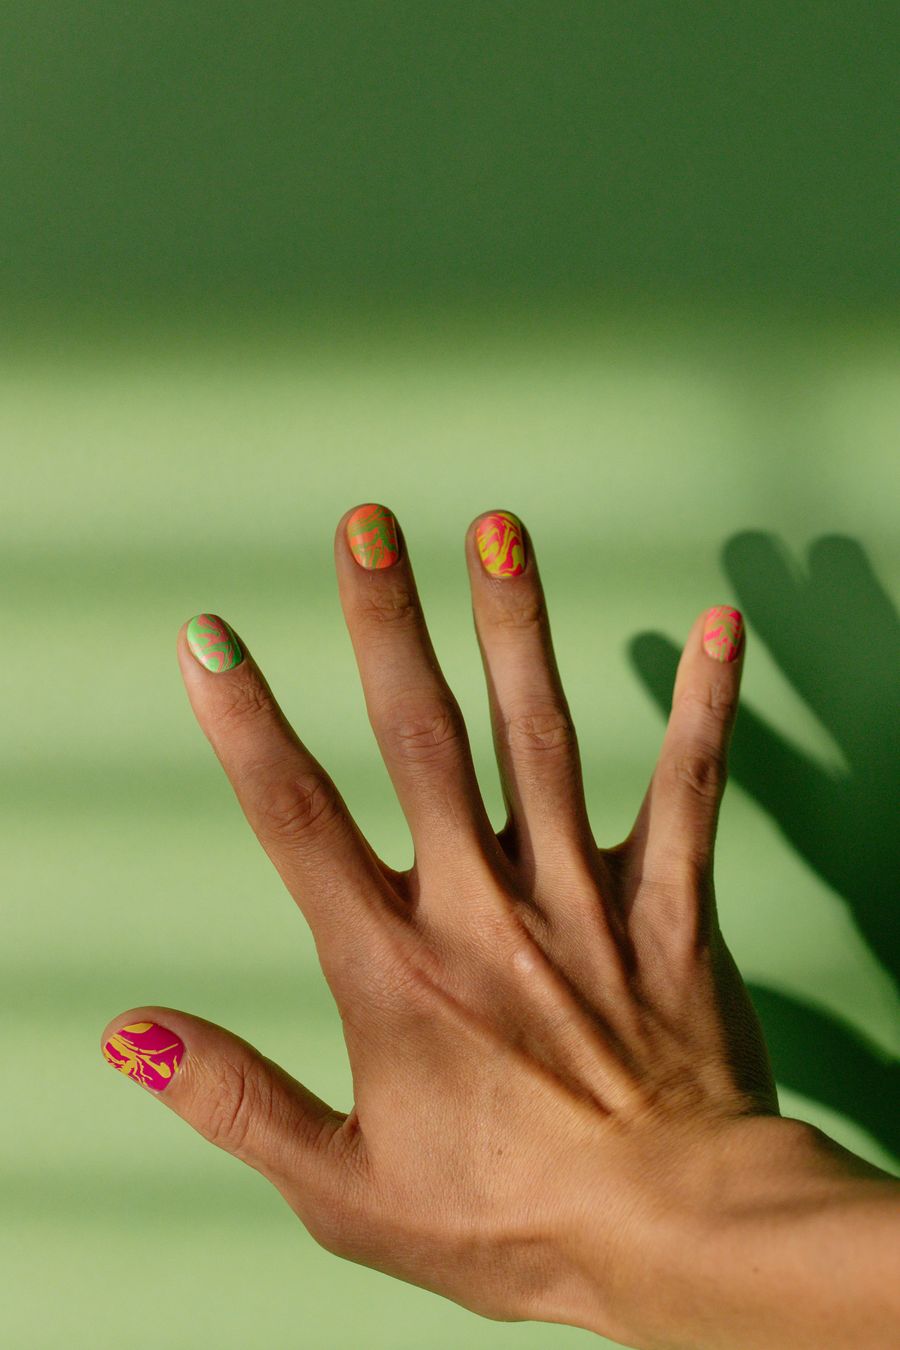
Having short nails does not mean you are limited to plain, single-color manicures. While elaborate salon sets and lengthy acrylics often dominate social feeds, working with your natural nail length has distinct advantages: it can be easier to maintain, feels practical for daily typing and chores, and makes low-stakes experimenting fun.
The secret to successful at-home manicures on smaller nail plates is proportion. Rather than trying to cram intricate illustrations onto a compact surface, beginner-friendly DIY art focuses on clean negative space, balanced accents, and simple geometric shapes.
If you are deciding between overall style directions or choosing a look based on your daily routine, start with our parent guide to short nail designs. In this tutorial, we narrow our focus strictly to a beginner workflow using regular lacquer and everyday tools you already have in your bathroom cabinet.
What You Need: The Low-Cost Beginner Toolkit
You do not need an expensive kit or professional equipment to start creating nail art. In fact, keeping your materials simple helps you master brush control and timing before investing in specialty supplies.
- Base Coat: A standard clear or ridge-filling base coat to protect the natural nail from discoloration and provide a smooth, adhesive foundation.
- Two Contrasting Regular Polishes: A neutral or sheer base polish (such as a sheer pink, milky white, or soft beige) and an opaque accent color (like black, deep navy, or cherry red) for your design.
- A DIY Dotting Tool: The rounded end of an ordinary bobby pin, the tip of a toothpick, or the head of a sewing pin pushed into a pencil eraser.
- A Striping Guide or Detail Brush: Low-tack craft tape (or household tape pressed against the back of your hand a few times to reduce stickiness) or a trimmed, thin craft paint brush.
- Quick-Dry Top Coat: A clear, high-gloss top coat formulated to set regular nail lacquer smoothly.
- Cleanup Tools: A small flat eyeshadow or angled eyeliner brush, paired with a small dappen dish or bottle cap containing standard acetone or non-acetone polish remover.
Step 1: Prep the Nail Plate Without Over-Filing
Good preparation ensures polish applies evenly and lasts as long as regular lacquer naturally can.
- Shape Carefully: File gently and avoid pressing into the skin at the sides. For shorter beds, soft squoval or rounded contours can be easier to maintain while giving you maximum surface area. If you are debating between edge styles, see our guide comparing square and squoval nail shapes.
- Push Back Cuticles Gently: After washing your hands or showering, use a soft washcloth or an orange wood stick to nudge cuticles back gently. Do not cut living tissue.
- Dehydrate the Surface: If your polish instructions call for a clean, dry surface, remove visible residue before applying base coat.
- Lay Down Base Coat: Apply one thin coat of base coat across all nails, covering the free edge lightly. Allow it to dry as directed by the product before applying color.
3 Beginner Designs Scaled for Short Nails
When working with limited canvas space, less is always more. Design roundups from lifestyle publications like Byrdie's short minimal nail ideas emphasize that negative space and micro-placements keep short nails looking intentional rather than crowded.
Design 1: The Micro Dot Accent
A single dot near the cuticle line or center of the nail bed creates a refined, modern accent that requires only a few simple steps.
- Apply one or two thin coats of your background color. Let it dry according to the product directions.
- Place a small drop of your contrasting accent lacquer onto a piece of foil or scrap paper.
- Dip the bulbous tip of a bobby pin into the polish drop. Tap it once lightly on scrap paper to remove excess paint.
- Gently touch the tip to your nail—either directly above the cuticle curve or off-center near the tip—and lift straight up.
- Repeat on all ten fingers or reserve the dot for an accent nail on each hand.
Design 2: The Vertical Micro Stripe
A single vertical stripe adds visual length to shorter nails without overwhelming the sides.
- Once your base color is dry, hold a fine-tipped craft brush or striping brush lightly between your fingers.
- Coat only the lower half of the bristles in your accent polish, wiping excess liquid against the neck of the bottle.
- Starting near the cuticle, anchor your pinky finger on the table for stability, and pull the brush smoothly down the center or along one outer third of the nail plate in one steady motion.
- If freehand lines feel challenging, place two strips of de-tacked tape parallel to each other with a narrow gap, paint between them, and peel the tape off immediately while the lacquer is still wet.
Design 3: The Asymmetrical Diagonal Color Block
Color blocking lets you wear vibrant shades without dominating small nail beds, as highlighted in Real Simple's short nail design guide.
- Paint the entire nail in your primary neutral or pastel shade and let it dry fully before placing tape.
- Cut a small piece of tape and press it across your nail at an angle, covering half or one corner of the nail bed.
- Paint your darker accent color over the exposed section. Keep the layer thin to prevent a thick ridge along the tape line.
- Remove the tape slowly while the accent polish is still wet.
For more pared-down aesthetics that rely on subtle detail, explore our companion breakdown on minimalist nail art.
Drying, Cleanup, and Common DIY Pitfalls
In online nail enthusiast discussions, such as community threads on Reddit's Holo Taco forum and r/NailArt, beginners frequently cite smudging, flooded cuticles, and premature chipping as their primary frustrations. Here is how to navigate those hurdles:
- Floating the Top Coat: When sealing your nail art, do not drag the brush bristles directly across your wet design. Pick up a generous drop of top coat on the brush and gently guide the bead of clear polish across the nail surface without letting the bristles press into the art beneath.
- Cleaning Sidewalls Instantly: If lacquer touches your skin, dip an angled brush into polish remover immediately and trace around the cuticle perimeter. Removing polish from the surrounding skin also gives the design a cleaner edge.
- Layer Thickness: Thick layers trap solvents beneath the surface, resulting in bubbles or sheets of polish denting hours later. Thin coats are usually easier to dry evenly than a heavy coat; follow your polish directions.
When to DIY vs. When to Visit a Professional
While simple dots, lines, and color blocks are straightforward to do at home with regular polish, certain techniques belong in the hands of a licensed nail technician:
| Project Scope | DIY at Home (Regular Polish) | Professional Salon Visit |
|---|---|---|
| Techniques | Dots, single stripes, half-moon accents, basic color blocking | 3D chrome reliefs, complex hand-painted portraits, encapsulated glitter |
| Products | Air-drying regular lacquers and quick-dry top coats | Structured builder gels, acrylic extensions, hard gel overlays |
| Skill Requirement | Basic hand stabilization, everyday household tools | Specialized application and curing techniques |
| Commitment | Easily removed with standard nail polish remover in minutes | Removal depends on the product and may require professional help |
If your goal is an intricate multi-layered pattern, structural reinforcement for brittle nails, or sculpted extensions, an experienced nail technician can discuss the appropriate product and technique for your nails.
Planning Your Next Look
Before you start painting, testing color combinations on scrap paper or previewing concepts digitally can save cleanup time. You can experiment with shape and placement concepts using NailMoodLab’s digital tools, such as our shape previews and design generators. Please note that digital previews are visual concepts designed to inspire your color choices and layout; they do not guarantee physical product color matches, lighting accuracy, or physical fit on your natural nail.
Frequently Asked Questions
Why does my top coat smudge my dots and lines?
Smearing occurs when the accent lacquer is still wet or when the top coat brush is pressed too firmly against the nail plate. Allow your detail work to dry according to the product directions, and apply top coat by floating the bead over the design rather than dragging the bristles.
Can I do these designs without buying nail art brushes?
Yes. Bobby pins, toothpicks, and the corner of an old makeup sponge can reproduce almost all fundamental beginner accents. Household tape serves as an effective straight-edge guide for clean geometric blocks.
How do I stop nail art from chipping at the tips after one day?
Ensure you cap the free edge of your nail with both your base coat and your clear top coat. Because short nails undergo frequent friction from typing and handwashing, a top coat applied according to its product directions may help protect the design.