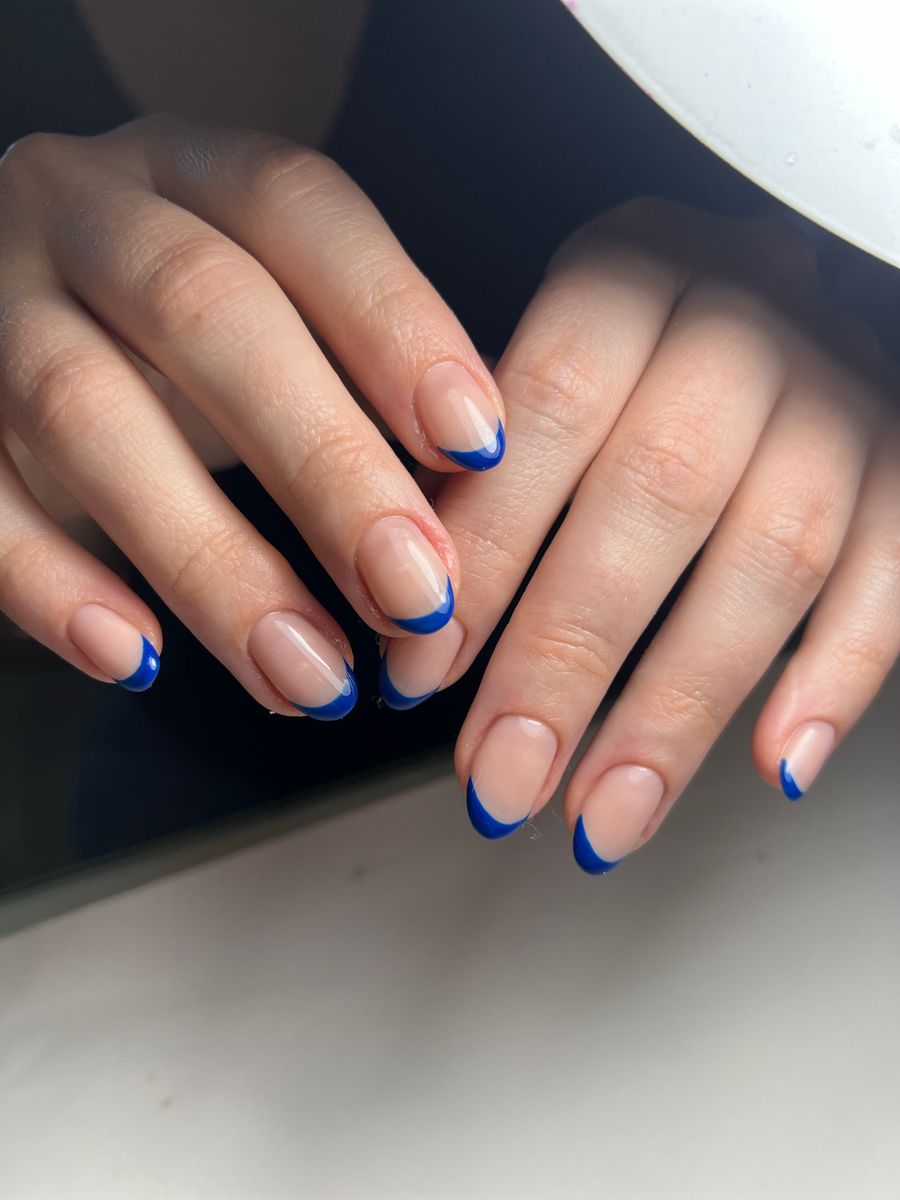
Round nails have a compact curved endpoint, while oval nails create a more elongated curved outline. If you prefer a shorter-looking, softly rounded tip, start with round references. If you want a longer curved profile, compare oval options at a length you would actually wear. The names are starting points; a clear image and a description of the curve make the salon conversation more precise.
Neither shape is automatically best for a particular hand. Choose by visual preference, routine, and the professional's assessment of your current nails and intended service.
Compare the outline before the styling
Find references with similar color, finish, and camera angle. A long oval set with elaborate art and a short round set in plain pink differ in too many ways to isolate the shape.
Look at the side-to-tip transition. Does the nail finish in a compact arc, or does the curved outline extend farther toward the tip? Point to that feature when explaining what you like.
Shape labels can be used loosely in inspiration collections. A softly tapered image may be described differently by different people. The visual reference helps resolve that ambiguity.
Also inspect perspective. A nail angled toward the camera can appear shorter, while a side view can conceal its width. Use a straightforward view when judging the outline itself.
Understand the main design differences
| Feature | Round direction | Oval direction |
|---|---|---|
| Visual profile | Compact curve at the tip | More elongated curved outline |
| Overall emphasis | Softer, less extended endpoint | Length and continuous curve become more noticeable |
| Art planning | Simple motifs and limited detail can fit a compact canvas | Extended lines and spaced motifs can follow the longer profile |
| Reference question | How rounded should the tip appear? | How much elongation and taper do you want? |
| Practical decision | Confirm the intended length and service | Confirm the intended length and service |
These are visual distinctions, not guarantees about comfort, strength, or maintenance. Those questions depend on the actual nails, materials, service, and daily use.
Do not treat the table as a rule that round must always be very short or oval must always be long. Discuss the specific proportions you want and what is feasible.
Choose length independently
Start with a length direction you understand from your current routine. If your present nails feel manageable, use them as a reference point. If you want more or less extension, explain how much change you have in mind.
Terms such as short and medium are relative. Show the amount of visible length you prefer rather than assuming the professional interprets the label exactly as you do.
If you like an oval reference but do not want its length, ask how a shorter interpretation would look. It may preserve the general curved direction without reproducing the same proportions.
For a fair visual comparison, keep the intended length similar between round and oval concepts. You can then decide whether the more elongated outline is the feature you prefer.
Think through daily wear without relying on shape myths
List the tasks you do repeatedly: keyboard use, phone use, handling small objects, hobbies, or work that has specific requirements. Identify what you already like or dislike about your current length and outline.
Describe actual experience rather than asking for a shape that is supposedly practical for everyone. “I want less extension than my last set” gives the professional a clearer starting point than “give me the strongest shape.”
Do not assume one curved shape always lasts longer or needs less maintenance. Ask about the service proposed for your real nails and how the chosen length affects the plan.
If an activity or workplace has requirements, verify them through the relevant organization. A visual style guide does not establish those rules.
Match the art to the available canvas
Plain color
A simple color is useful when the shape itself is the decision. Keep the finish consistent so reflections do not distract from the outline.
After choosing the preferred curve, compare colors separately. This avoids selecting a shape mainly because one reference uses a shade you already love.
Fine tips or curved accents
A tip design can follow the endpoint and make the round-versus-oval distinction more visible. Discuss how wide or subtle you want the colored area to appear.
Do not copy the same tip width mechanically from a different length. The professional may need to adapt the proportion so it remains balanced on your actual nails.
Small motifs
Dots, small flowers, or simple abstract marks can work as design directions for either outline. Keep the motif count appropriate to the visible canvas rather than shrinking a crowded reference unchanged.
The minimalist nail-art guide offers ways to create a deliberate focal point with fewer elements. Open space can make the shape and art easier to read together.
If you prefer a straighter endpoint with softer corners, the square-versus-squoval guide provides a useful additional comparison without forcing every preference into round or oval.
Preview both directions consistently
NailMoodLab offers prompt-based generation, hand-photo nail-shape suggestions, and two-image virtual try-on. Generated designs can be regenerated, downloaded, shared, or copied by URL.
Use one clear hand photograph with visible nails and even light. Choose references that differ mainly in their curved outline, not in every design feature.
A starting prompt could be:
Short round nail concept with a compact curved tip, plain muted peach color, glossy finish, and no pattern or raised decoration.
For the comparison, request an oval direction while retaining the same palette and simple finish. Check whether the output follows the intended length and shape; a prompt alone does not guarantee that it will.
Use virtual try-on to explore the appearance on the same source image. Compare the whole hand at a normal size, then inspect each nail boundary.
Watch for preview distortions
An AI result may make fingers narrower, move nail boundaries, or change the apparent nail-bed length. Those changes can influence preference without reflecting the manicure itself.
Keep the original beside the preview. If the hand changes substantially, regenerate or use another clear reference before comparing. Do not interpret an altered hand as evidence that the shape is more flattering or physically suitable.
The preview does not diagnose nail condition, measure length, or confirm what can be achieved on natural nails or with another service. Those are questions for the professional assessing the actual nails.
Save the most useful image and write down the specific feature you prefer. “The softer endpoint, but slightly more length” is more useful than a label alone.
Ask the salon to translate the reference
Show the preferred curve and explain your desired length and routine. Ask how the outline can be achieved with the service you are booking and whether a different interpretation would be more practical.
Do not use the image as a filing template or attempt to reshape an existing enhancement based on the preview. Ask the professional about the appropriate service and any changes needed.
Confirm expected time, price, and maintenance directly. A plain-looking design or short reference does not establish those details on its own.
The salon reference-photo guide can help you identify which features are essential and which can change. Keep a fallback with a length or curve closer to your current routine if you are uncertain.
Final round-versus-oval checklist
- The desired curve is described beyond its name.
- References use comparable lengths, colors, and angles.
- Length is chosen with your actual routine in mind.
- Art is adapted to the available canvas.
- Preview anatomy and nail boundaries are checked.
- The image is treated as a concept rather than a measurement.
- Feasibility, time, price, and maintenance are discussed with the salon.
Explore the two curved directions with NailMoodLab virtual try-on, then take the preferred features to your nail professional. If you plan looks regularly, review your current account allowance and available plan information. Consider a future purchase only when checkout is available and the offer fits your actual use.